This will be the start of the blog series for my new blog theme. As mentioned in the previous blog post, the goal is to create a theme that comes as close as possible to the current design, while using the Site Editor to create all necessary styles and templates.
Creating the theme
When I developed from scratch in the past, I’ve usually used _s (underscores), but since this is a classic starter theme, I needed something different. Fortunately, there is the “Create Block Theme” plugin, you can use to create a theme from your WordPress installation.
After installing and activating the plugin, navigate to “Appearance > Create Block Theme” and choose the “Create blank theme” option on the left. You are then presented with a form on the right, asking you for name, description, etc. for the new theme. This is the data that is usually found in the style.css header comment.
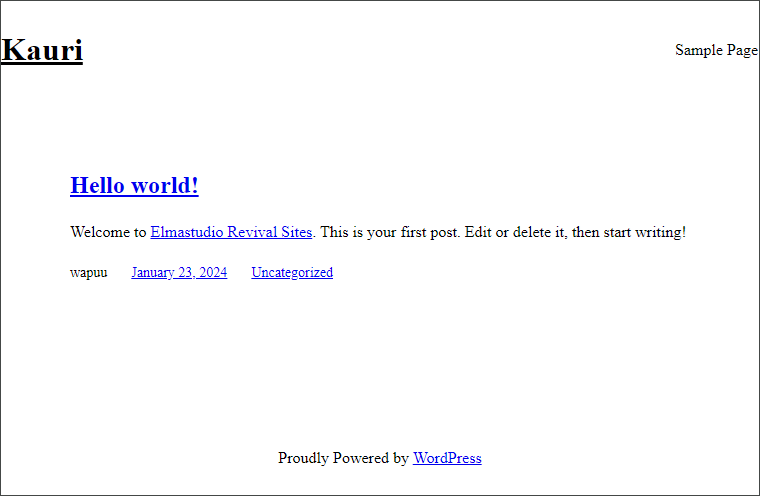
After filling out the form, click the “Generate” button in the bottom left. This will create the new theme in the WordPress installation. Now you can activate the theme for your site. The result would look like this:

Isn’t that beautiful? OK, not quite what we need. But we do have a full Block Theme now, and can start adding all the styles we need.
The theme’s file structure
But before we start working on the theme, let’s take a look at what we have. This is the initial file structure of our new theme:
$ tree
.
├── parts
│   ├── footer.html
│   └── header.html
├── readme.txt
├── screenshot.png
├── style.css
├── templates
│   └── index.html
└── theme.json

2 directories, 7 files
Not all that much. But we do have template parts for a header and a footer. The only “page template” we have is an index.html file. The style.css file is basically empty, it mainly consists of the header comment with the data from the form. Interestingly, we find a line Requires PHP: 5.7 in this file, even though this PHP version never existed. 😅
The most important file however is the theme.json file. In this base version, it is only 35 lines long and has definitions for the layout sizes, spacing units, a system font family and the header and footer template parts.
In the next blog posts of this series, we will work with this file quite a lot.
The name of the new theme
You might have recognized, that I have chosen the name “Kauri” for the new theme (and the development site). The current theme of my blog is named Waipoua. Elmastudio named many of their themes after things in New Zealand or Asia. Waipoua Forest is a forest in the Northland Region of New Zealand. This forest shows some examples of kauri trees. And by now you should know why I’ve chosen this name. 😊
Next steps
In the next episode, we will make our initial changes to the theme.json file, maybe adding the fonts or setting the general width of the theme. So stay tuned.
If you want to follow along with the code, you can find the current state on GitHub. But please don’t create any issues or pull requests, before this blog series is finished. 😁