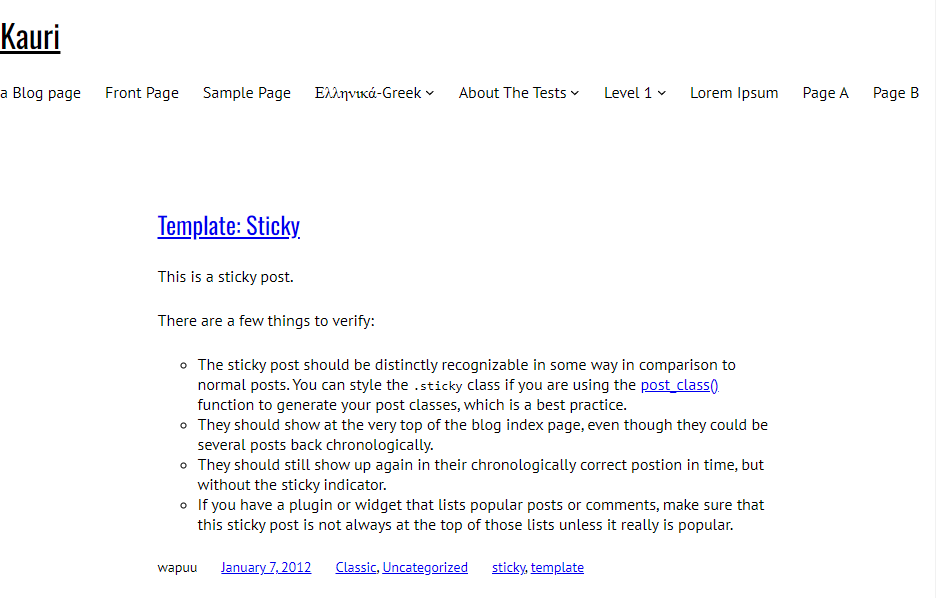
After we’ve created the raw theme in the last blog post, it’s time to add some basic things to our theme. To quickly get some similar appearance, let’s start with fonts.
My blog is using the default fonts from Waipoua, but I have changed the main colors in a child theme. This is how the theme looks like with no customizations:
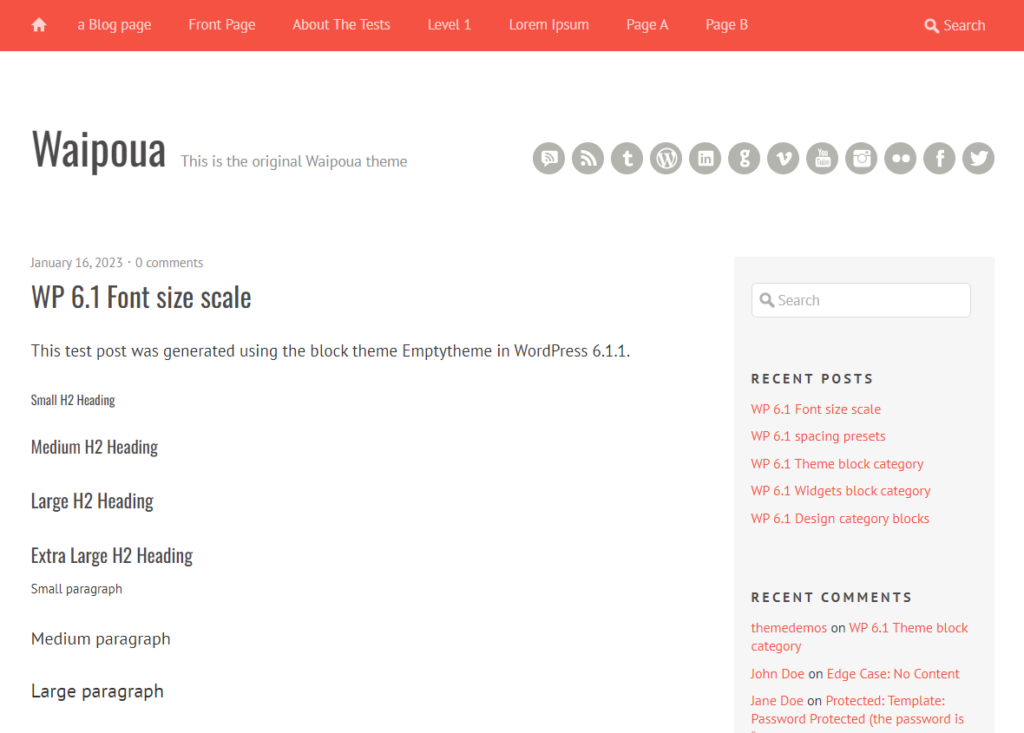
As you can see here, I’ve changed the red tone of the header, the background color of the sidebar, and I’ve also colored the social icons in the top right widget area. The rest looks pretty much like in the parent theme.
Adding the fonts
Now, this is an interesting chapter. As of today, you would usually do the following:
- Download the fonts – for Google Fonts, I usually use the google-webfonts-helper and download all variants
- Save fonts in a folder in your theme
- Define the fonts in the
theme.jsonfile
If you want to follow this manual path, there is an excellent guide from Carolina on the “Full Site Editing With WordPress” site.
But since there is a new way of adding fonts to a block theme coming up, let’s try this way. With the current WordPress version 6.4, you have to install the Gutenberg plugin in order to use this option, since it is not yet “final” and therefore hasn’t been merged into Core with WordPress 6.4, so we have to wait a little longer.
With Gutenberg installed and activated, navigate to “Appearance > Manage Theme Fonts”. Here you will find the following view:
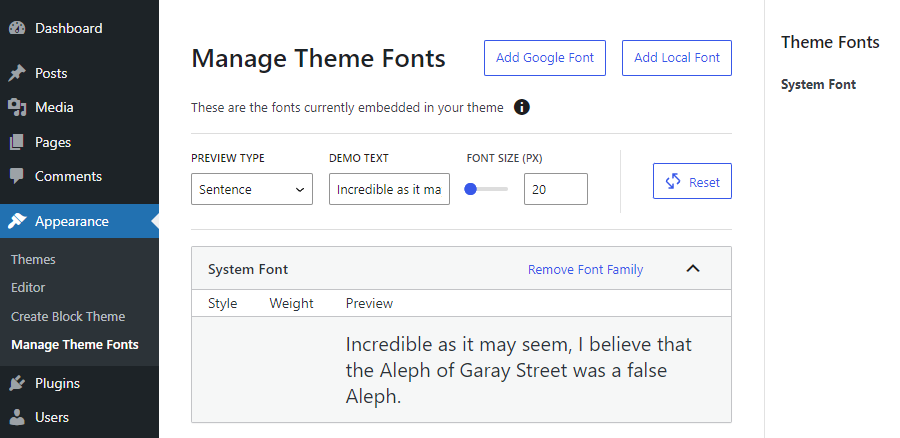
Here you find an overview of all theme fonts on the right as well as preview area for these fonts. In the top right, you can use the buttons “Add Google Font” or “Add Local Font” to add a new font family to your theme.
Let’s add the font family for headlines first, which is the Google Font “Oswald”. We click the button “Add Google Font” and then search in the “Select Font” dropdown for the font. We are then presented with all available variants. I’ve just clicked the checkbox in the table header to select all of them:
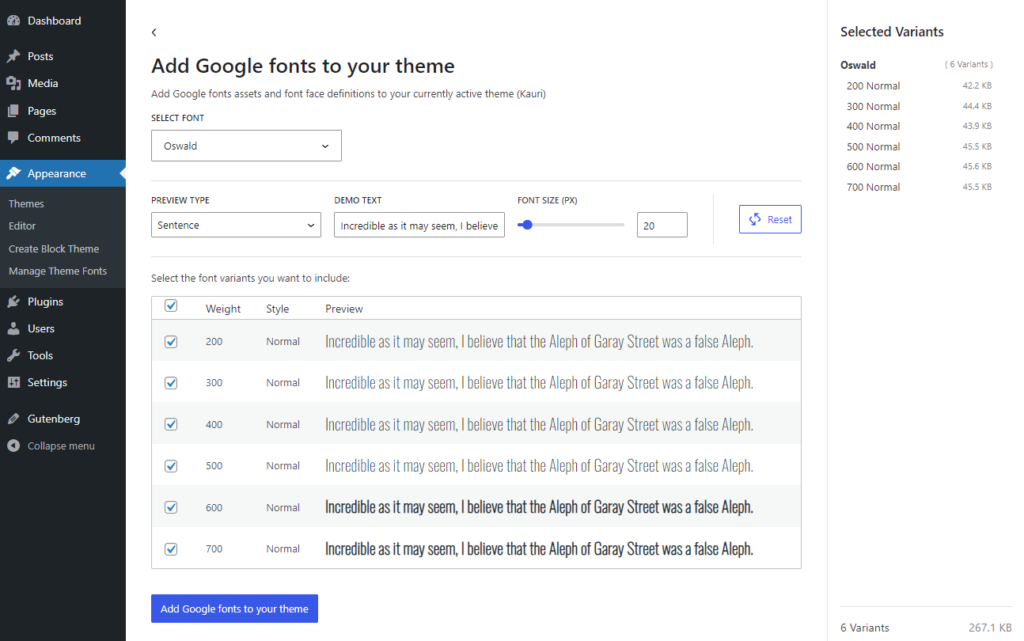
The Waipoua theme only included the 400 weight variant, but as with a block theme you have more control on which font you use where, I think it’s best to have all the variants available, so which ever weight (and style, if available) is used, the text looks best.
After clicking the “Add Google fonts to your theme” button, you should see a success message like “Oswald font added to Kauri theme”. Now we do the same for the “PT Sans” font, again selecting all the variants.
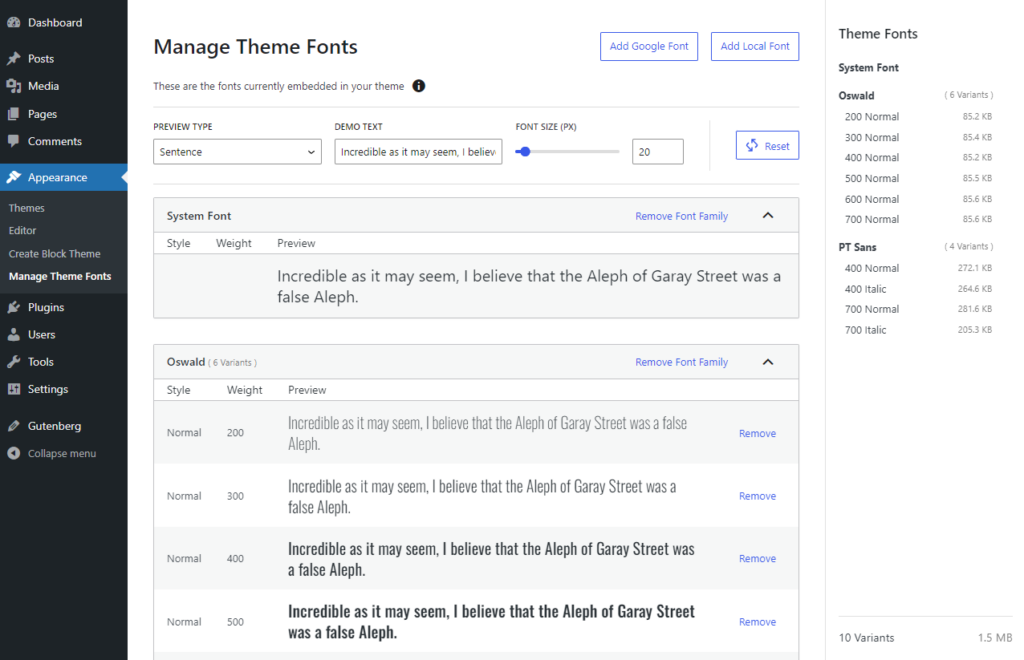
If we navigate back to the “Manage Theme Fonts” admin page, we should see those new fonts in the right sidebar and a preview of them. In total, we have added 2 fonts with a total of 10 variants and a total size of 1.5 MB:
Result of the fonts import
Now what did we get after this step? Let’s take a look at the themes folder structure first:
$ tree .
.
├── assets
│   └── fonts
│       ├── oswald_normal_200.ttf
│       ├── oswald_normal_300.ttf
│       ├── oswald_normal_400.ttf
│       ├── oswald_normal_500.ttf
│       ├── oswald_normal_600.ttf
│       ├── oswald_normal_700.ttf
│       ├── pt-sans_italic_400.ttf
│       ├── pt-sans_italic_700.ttf
│       ├── pt-sans_normal_400.ttf
│       └── pt-sans_normal_700.ttf
├── parts
│   ├── footer.html
│   └── header.html
├── readme.txt
├── screenshot.png
├── style.css
├── templates
│   └── index.html
└── theme.json
We do have a new folder “assets/fonts” and in this folder we can find the Google fonts. As these can only be downloaded in the TTF format from fonts.google.com, this is what we also get with the (current) font management solution in Gutenberg.
But let’s take a look at the theme.json file, because this is the more interesting part of this whole step. You should now see something like this:
{
	"settings": {
		"typography": {
			"fontFamilies": [
				{
					"fontFamily": "-apple-system, BlinkMacSystemFont, 'Segoe UI', Roboto, Oxygen-Sans, Ubuntu, Cantarell, 'Helvetica Neue', sans-serif",
					"name": "System Font",
					"slug": "system-font"
				},
				{
					"fontFamily": "Oswald",
					"slug": "oswald",
					"fontFace": [
						{
							"fontFamily": "Oswald",
							"fontStyle": "normal",
							"fontWeight": "200",
							"src": [
								"file:./assets/fonts/oswald_normal_200.ttf"
							]
						},
						{
							"fontFamily": "Oswald",
							"fontStyle": "normal",
							"fontWeight": "300",
							"src": [
								"file:./assets/fonts/oswald_normal_300.ttf"
							]
						},
						{
							"fontFamily": "Oswald",
							"fontStyle": "normal",
							"fontWeight": "400",
							"src": [
								"file:./assets/fonts/oswald_normal_400.ttf"
							]
						},
						{
							"fontFamily": "Oswald",
							"fontStyle": "normal",
							"fontWeight": "500",
							"src": [
								"file:./assets/fonts/oswald_normal_500.ttf"
							]
						},
						{
							"fontFamily": "Oswald",
							"fontStyle": "normal",
							"fontWeight": "600",
							"src": [
								"file:./assets/fonts/oswald_normal_600.ttf"
							]
						},
						{
							"fontFamily": "Oswald",
							"fontStyle": "normal",
							"fontWeight": "700",
							"src": [
								"file:./assets/fonts/oswald_normal_700.ttf"
							]
						}
					]
				},
				{
					"fontFamily": "PT Sans",
					"slug": "pt-sans",
					"fontFace": [
						{
							"fontFamily": "PT Sans",
							"fontStyle": "normal",
							"fontWeight": "400",
							"src": [
								"file:./assets/fonts/pt-sans_normal_400.ttf"
							]
						},
						{
							"fontFamily": "PT Sans",
							"fontStyle": "italic",
							"fontWeight": "400",
							"src": [
								"file:./assets/fonts/pt-sans_italic_400.ttf"
							]
						},
						{
							"fontFamily": "PT Sans",
							"fontStyle": "normal",
							"fontWeight": "700",
							"src": [
								"file:./assets/fonts/pt-sans_normal_700.ttf"
							]
						},
						{
							"fontFamily": "PT Sans",
							"fontStyle": "italic",
							"fontWeight": "700",
							"src": [
								"file:./assets/fonts/pt-sans_italic_700.ttf"
							]
						}
					]
				}
			]
		}
	}
}
Following the “System Font” we can find our two new font families with one definition per variant. This is a lot of code that was created for us automatically, so we don’t have to.
If you refresh the page now, we won’t see any change. That’s because we have only imported the fonts into our theme and defined it in the theme.json file, but we are not using them.
Set fonts for body and headings
You can set a font family for the whole page, some “types” of elements or for individual blocks. To get the result we want, the following has to be added to the theme.json file:
{
	"styles": {
		"elements": {
			"heading": {
				"typography": {
					"fontFamily": "var(--wp--preset--font-family--oswald)",
					"fontWeight": "400"
				}
			}
		},
		"typography": {
			"fontFamily": "var(--wp--preset--font-family--pt-sans)",
			"fontWeight": "400"
		}
	}
}
This will set the font for the body and all headlines, so inside the content, as well as the core/site-title, and other “headlines” blocks. We have to fine tune this later, but for the moment, we have the following result:
As for fonts, this now looks a lot more like the original theme. But it’s just the first step. We still need to work on many aspects.
Bonus: Use WOFF2 instead of TTF fonts – or both
With the current solution, I really don’t like that it is using TTF fonts. They are usually used on desktop, not on the web. And even though most browsers can use them, they are a lot larger.
Using the google-webfonts-helper, I’ve downloaded all fonts in the WOFF2 format and adjusted the theme.json file accordingly. I’ve also put each font family files into a subfolder, to better organize them.
With these changes, the size of the web fonts could be reduced from 1.5 MB to only around 590 KB, for all variants. So while this step is not absolutely necessary, I would highly recommend to use WOFF2 files. Unless you have to support some really old browsers. Then you can always decide to download them in a different format with the google-webfonts-helper.
You can also keep the TTF files as a fallback. It would then look like this as an example:
{
	"fontFamily": "Oswald",
	"fontStyle": "normal",
	"fontWeight": "200",
	"src": [
		"file:./assets/fonts/oswald/oswald-v53-cyrillic_cyrillic-ext_latin_latin-ext_vietnamese-200.woff2",
		"file:./assets/fonts/oswald/oswald-v53-cyrillic_cyrillic-ext_latin_latin-ext_vietnamese-200.ttf"
	]
}
You can find the full example in the themes’s GitHub repository.
Hidden gem using the “Manage Theme Fonts” functionality
When committing the changes to the theme, I’ve recognized that the readme.txt file was change as well. First I thought, that I’ve probably changed something in this file as well. But then I saw these additions:
Oswald Font
Copyright 2016 The Oswald Project Authors (https://github.com/googlefonts/OswaldFont)
This Font Software is licensed under the SIL Open Font License, Version 1.1. This license is available with a FAQ at: https://scripts.sil.org/OFL
License URL: https://scripts.sil.org/OFL
Source: http://www.sansoxygen.com
-- End of Oswald Font credits --

PT Sans Font
Copyright © 2009 ParaType Ltd. All rights reserved.
Copyright (c) 2010, ParaType Ltd. (http://www.paratype.com/public), with Reserved Font Names "PT Sans", "PT Serif" and "ParaType".
License URL: http://scripts.sil.org/OFL_web
Source: http://www.paratype.com
-- End of PT Sans Font credits --
So not only does the functionality take care of downloading the fonts, storing them in your theme, updating your theme.json file. It does also make sure that you have the credits to legally use those fonts in your readme.txt file. How cool is that?! 🤓
Summary
Adding Google fonts (or fonts from other sources) can be done in two ways: manually and with the “Manage Theme Fonts” functionality. While the latter is still not “finished”, it worked pretty well with this theme. If they also add an option to download different file formats (or change the default), I can’t wait to see this land in core.
I initially planned to also write about how to set colors and the site width in this blog post, but I think the fonts topic is enough for this one.
Danke für den Eintrag! Hat mir heute echt geholfen. 🙂